
 Español
 العربية
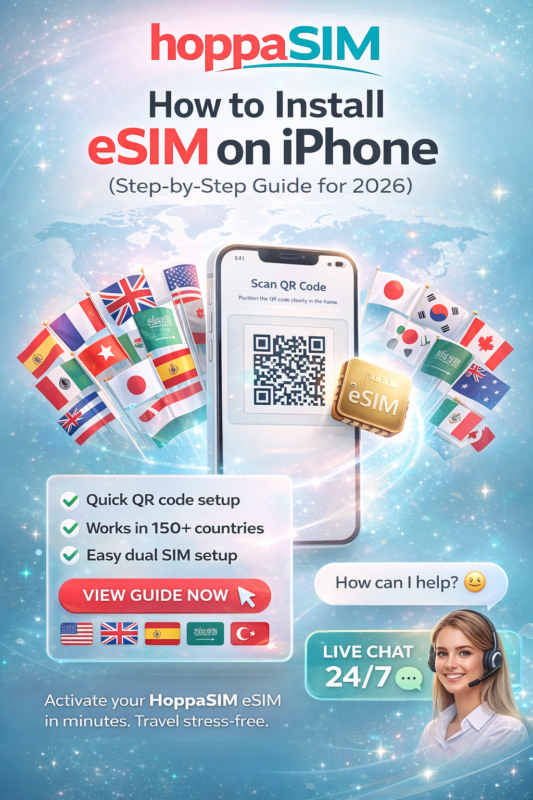
How to Install eSIM on iPhone (iOS 17 & iOS 18) – Step-by-Step Guide 2026
How to Install eSIM on iPhone (Step-by-Step Guide)
Installed a HoppaSIM travel eSIM? You can set it up on your iPhone in minutes. Follow the steps below for QR code install (recommended) or manual activation — plus the quick fixes if it doesn’t connect.
Before You Start: Check Your iPhone Supports eSIM
Most modern iPhones support eSIM, including iPhone XS / XR and newer. If you’re not 100% sure, check your device in our compatibility page first: hoppaSIM.com/compatibility/
Method 1: Install eSIM on iPhone Using a QR Code (Recommended)
This is the fastest setup method. Make sure you’re connected to Wi-Fi before you start.
Once installed, you’ll see the new line under Mobile Service. You can label it “Travel”, “HoppaSIM”, or the country name for easy switching.
Method 2: Install eSIM on iPhone Manually (If QR Code Won’t Scan)
If your camera won’t scan the QR code, you can enter the details manually.
How to Activate Your eSIM for Travel
Most travel eSIMs activate when you arrive in your destination and the phone connects to a supported network. To make sure it works:
- Turn your new eSIM line ON (Settings → Mobile Service → select eSIM → This Line On)
- Enable Data Roaming for the eSIM line
- Set Mobile Data to the eSIM to avoid unexpected roaming on your main SIM
How to Use eSIM + Physical SIM (Dual SIM)
iPhone supports Dual SIM, so you can keep your main SIM active for calls while using HoppaSIM for data. Recommended settings:
- Default Voice Line: your home SIM
- Mobile Data: HoppaSIM eSIM
- Allow Mobile Data Switching: OFF (for predictable travel data)
eSIM Not Working? Try These Fixes
If you installed the eSIM but it won’t connect (no signal / no data), run through this quick checklist:
Still stuck? Our team can help fast: hoppaSIM.com/contact/
FAQ
How long does it take to install an eSIM on iPhone?
Can I install the eSIM before traveling?
Do I need Wi-Fi to install an eSIM?
Can I remove and reinstall my eSIM?
Ready to get connected?
Browse affordable travel eSIMs for 150+ countries and regions — install in minutes and travel stress-free.